Friday, July 22, 2011

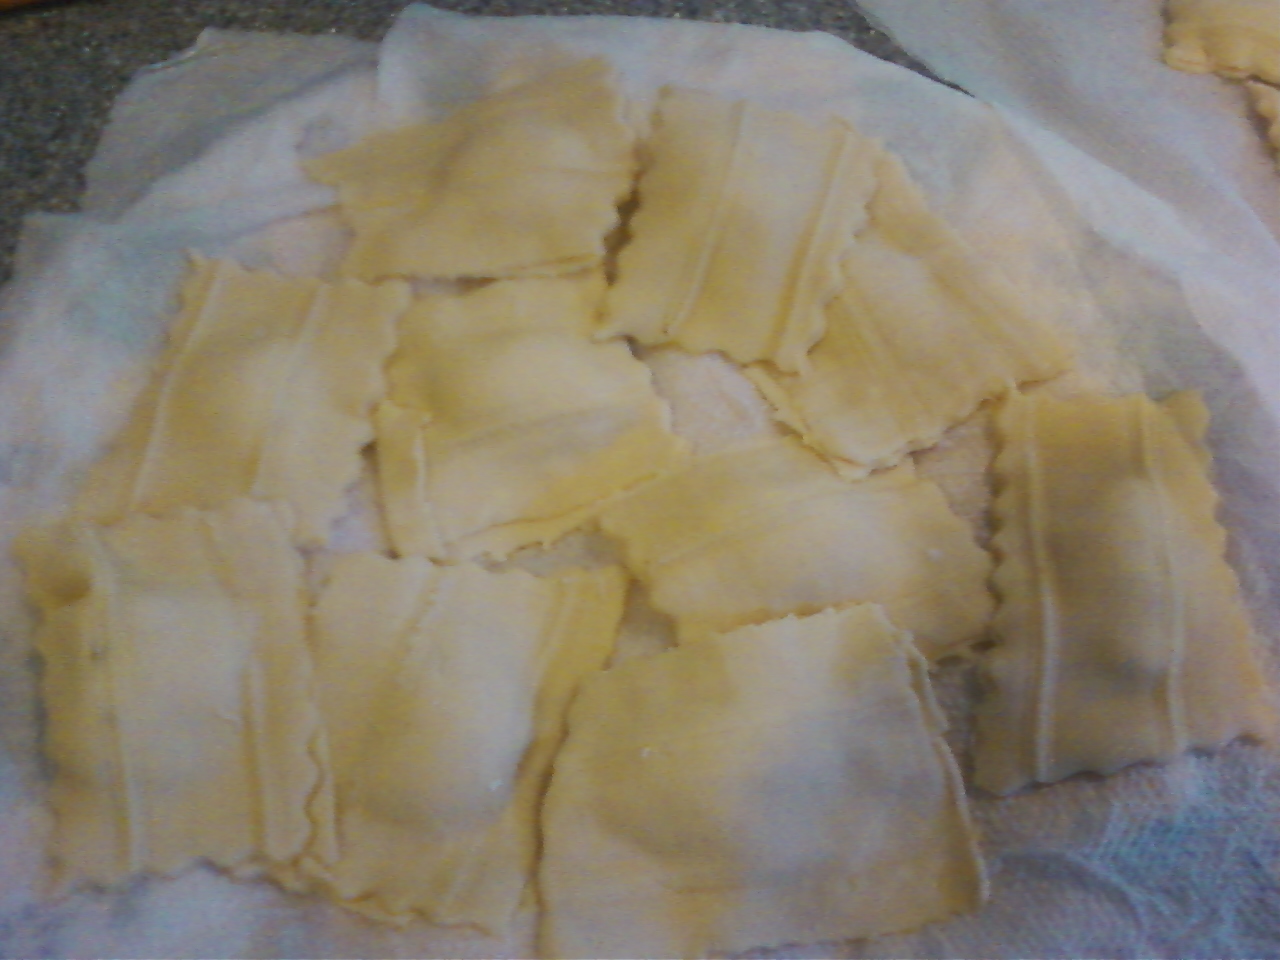
Homemade Ravioli


Ingredients for the pasta

* 2 cups AP Flour, plus extra as needed
* 3 large eggs, beaten
* water

Ingredients for the cheese filling

* 1 cup ricotta cheese
* 1/2 cup grated or shredded Parmesan cheese
* 1/2 cup shredded mozzarella cheese
* 2 tbsp minced fresh parsley
* salt and pepper to taste

Directions for ravioli pasta

1. Pulse the flour a few times in a food processor to aerate. Add the eggs and process until the dough forms a rough ball.

2. If the dough resembles small pebbles, add water 1/2 teaspoon at a time. If the dough sticks to the work bowl, add flour, 1 tablespoon and a time. Continue to process until the dough forms a rough ball.

3. Turn out the dough ball and any small bits from the work bowl onto the work surface. Knead the dough by hand until it is smooth, about 2 minutes. Cover with plastic wrap and let it rest on the counter for at least 30 minutes and up to 2 hours before rolling.

4. Follow your pasta maker's instructions to roll sheets of pasta.

Directions to fill and complete the ravioli pasta

1. Mix the filling ingredients together.

2. Working in small batches, lay out one lasagna noodle. Place 3 dollops of filling on the noodle, spaced evenly apart. Lay another lasagna noodle on top of the filling. Using a ravioli wheel, cut the noodle into thirds. Ensure the sides are sealed.

3. Place each fresh ravioli on a damp paper towel. When you have a complete layer, place another dam towel on top and create another layer of ravioli.

4. You can keep the ravioli in the fridge for a few hours, or freeze for later use.

5. When cooking, if fresh, add the ravioli to a pot of boiling water. Cook for 3-4 minutes. They will float to the top.

6. If cooking frozen ravioli, add the ravioli to a put of boiling water, and adjust the cooking time to about 8 minutes, or until floating and tender.

Notes
I truly believed that my ravioli would "explode" in the boiling water and the filling would escape. However, trust the seals you created on each ravioli, and likely you will not have any drowning cheese!

Sun Dried Tomato Pesto


Ingredients

* 3 Garlic Cloves, unpeeled
* One 8.5 ounce jar of sun dried tomatoes packed in oil*
* olive oil (EVOO or VOO) as needed to add to reserved olive oil to 1/4 cup
* 1/2 cup shredded or grated Parmesan Cheese
* 1/4 cup toasted walnuts.
* Salt and pepper

Directions


1. Toast the walnuts by placing them in a dry skillet over medium heat and shaking occasionally. They are done when they are lightly browned ( be careful, they burn quickly).

2. Toast the unpeeled garlic in a dry skillet until it is lightly brown. Allow to cool, and then peel and rough chop.

3. Separate the tomatoes from the oil, reserving the oil and herbs. Rinse the tomatoes under running water, then dry and rough chop.

4. Place garlic, tomatoes, oil, Parmesan, and walnut is food processor and blend until smooth. Add salt and pepper to taste.

5. When adding to pasta, use some excess pasta water to loosen the consistency of the pesto.

Notes
I added about 1 cup of the pasta water to the pesto to use over the ravioli. You could also serve this pesto with French or Italian bread, similar to bruschetta.

Sloppy Joes


Ingredients

* 1 T. vegetable oil
* 1 medium onion, minced
* 1 garlic clove, minced
* 1 tsp chili powder
* 1 lb. ground beef
* 1 tsp brown sugar
* salt and pepper
* 1 cup tomato puree or tomato sauce
* 1/2 cup ketchup
* 1/4 cup water
* Frank's Red Hot Sauce, to taste (optional)
* Hamburger Buns
* shredded cheddar cheese

Directions

1. Heat oil in skillet over medium high heat until shimmering. Add the onion and cook til lightly browned, about 5 min. Add the garlic and chili powder and cook for 1 minute. Add the beef, brown sugar, 1/4 tsp salt, and 1/8 tsp pepper. Reduce the heat to medium and cook, breaking the meat into small pieces Cook til meat is no longer pink.

2. Stir in the tomato puree, ketchup, and water. Cook until mixture is slightly thickened, about 5 min. Season with Frank's, and salt and pepper to taste.

3. Serve over rolls topped with cheddar cheese.

Notes
This can be made ahead up to 3 days and kept in fridge. It also freezes well. Reheat over low heat, adding a little water if it seems too thick.
When serving, don't be surprised if you need a knife and a fork!

9/8/11 - We made this again while Ryan was out of town, and I only had an 8oz can of tomato sauce in the pantry, so I used that instead of tomato puree. We thought it worked just fine!

Friday, July 15, 2011

July 15, 2011

I love farmers' markets! 'Tis the season for them...so search them out and buy local, fresh ingredients!!! On Thursday I had the perfect amount of time to run over to one while Hannah was at her French horn lesson. We picked up some gorgeous zucchini, onions, red potatoes, grape tomatoes, and white flesh peaches. I had already decided on a dinner meal that included the onions and zucchini, and Owen and I love snacking on grape tomatoes. The peaches were perfect for a tart recipe I found while on vacation visiting my parents.

My mother makes these fabulous zucchini "boats". They are scrumptious! She just eyeballs everything, whether she is cooking them for 2 people or 12, so no true recipe previously existed for these. I made 2 (resulting in 4 "boats"), and measured out what I added in. I've listed the rough recipe here, but feel absolutely free to take liberty with it and use this simply as inspiration if you like!

The main course, braised herb chicken with potatoes, was voted a keeper by all of us, though we also agreed it seemed to be more of a winter, or at least autumnal, meal. So, perhaps bookmark this one and come back and make it in the fall. Or, if it looks good to you, go ahead and try it now! We loved the flavors of it, and it did pair nicely with the zucchini boats.

The peach tart was more time intensive than I expected and required some babysitting. The temperature of the oven changed part way through, and later you add the streusel topping; over the course of it cooking you have to set the timer 4 times! It turned out pretty well, but the crust was a little darker than I would have liked. It required too much work and turned out ordinary results; therefore it does not qualify for keeper status.

Hit your local farmers' market this week!


New Recipes
Braised Herb Chicken with Potatoes
Zucchini Boats

Braised herb chicken with potatoes


Ingredients

* 2 tablespoons all-purpose flour
* 2 teaspoons paprika
* 1 teaspoon salt
* 1 teaspoon dried thyme
* 1 teaspoon dried oregano
* 1/2 teaspoon black pepper
* 1.5 lbs boneless skinless chicken breast
* 1 teaspoon olive oil
* 1 1/2 cups (2-inch-thick) slices carrot
* 2 medium onions, each cut into 8 wedges
* 1 1/2 cups fat-free, less-sodium chicken broth
* 1/2 cup dry white wine
* 1 1/2 pounds small red potatoes, quartered

Directions

1. Combine first 6 ingredients in a large zip-top plastic bag. Add chicken; seal bag, shaking to coat. Store in the fridge if not cooking right away.
2. Heat oil in a Dutch oven over medium heat.
3. Add chicken and remaining flour mixture to pan; cook 3 minutes on each side or until lightly brown.
4. Add carrot and onion; cook 3 minutes, stirring frequently.
5. Add broth, wine, and potatoes; bring to a boil. Reduce heat, and simmer 30 minutes or until chicken is done and vegetables are tender.

Notes:
You can use chicken thighs in this as well, so if you have those on hand, substitute these for the chicken breasts.

We served this with crusty French bread, but you could serve with egg noodles or rice. The braising liquid would be great as a sauce!

Zucchini Boats


Ingredients (as an inspiration - tweak this if you'd like!)

2 zucchini
2 tbsp olive oil
2 tbsp butter
1 shallot, minced
1 clove garlic, minced
1/3 cup breadcrumbs
1/3 cup parmesan cheese
1/4 - 1/2 tsp thyme
dash paprika

Directions


1. Boil the zucchini for about 5 to 6 minutes, then put them in an ice bath to stop cooking.
2. When cool, cut the zucchini in half lengthwise. Remove the flesh of the zucchini; chop the flesh and reserve.
3. Over medium to medium high heat, melt the butter and olive oil. Cook the shallot and garlic until soft and fragrant. Add the reserved zucchini, breadcrumb, Parmesan and thyme. Mix until well combined and hot.
4. Fill the empty zucchini boats with the filling. Sprinkle the boats with paprika. Pop them under the broiler for a few minutes, or into the toaster oven for a few minutes, or into an oven at 450 F. Keep an eye on them...you just want them to brown a little on the top. Maybe 5 -7 minutes.

Notes:
A grapefruit spoon works really well to remove the flesh, do give it a try if you have one. Now you have another use for that spoon! If you don't have a grapefruit spoon - borrow one of mine (we have 4), or simply use a paring knife and spoon. :)

Friday, July 8, 2011

July 8, 2011

Wow...time is flying by! We've already been out here visiting my family for 2 weeks. You know how it is with vacations....you spend forever planning for and waiting for the time to arrive, and then before you know it, you blink and it is nearly over and behind you!

My sister asked me a while back if while I was in could I watch her three boys while she and her husband worked two days. Tuesday this week was one of the days, and it was a busy day with 6 kids under the age of 10! We had a great day, and even found time to cook dinner and dessert. So...don't complain you don't have the time, or can't cook with the kids underfoot. Recruit them to help you - everyone will win! The 4 big kids took turns helping me make meatballs and sauce for chicken Parmesan meatball subs (remember that recipe from a while back?), and then we tried out a new one - thin French apple tart! After taking them for a walk, then over to the beach, we had lunch and put the babies down for a nap and got cooking.

11 of us had dinner that night, and everyone gave the complete meal two big thumbs up. Even my oldest, who is convinced she hates apple pie, tried it (because she helped make it) and loved it! She told my brother in law it was delicious - high praise indeed! During dessert my 2 year old nephew turned to us and said "I like this pizza", and thus, the French Apple Tart was renamed Apple Pizza. I would definitely be comfortable serving this EASY dessert to company.

And of course, it was 4th of July!!!! We had a couple of great appetizers, two of which were major keepers. The funniest thing is that given the ingredient lists, I would never have independently made either of these dishes. But, take my word for it, both the salsa and the dip were scrumptious!!!!

Hard to believe that next week I will be cooking in my own kitchen again. It always amazes me that time really does fly by...

New Recipes
Apple Pizza
I Can't Believe I Love This Buffalo Chicken Dip
Corn Avocado Salsa